Managing Raspberry Pis and Other Linux Servers with Cockpit
Managing multiple Raspberry Pis and other Linux servers can be a hassle, especially when dealing with various configurations and monitoring needs. Cockpit is a powerful web-based interface that simplifies system administration by providing an easy-to-use dashboard. This article will guide you through setting up Cockpit on Ubuntu (or any other Linux distro) for managing Raspberry Pis and other Linux servers.
What is Cockpit?
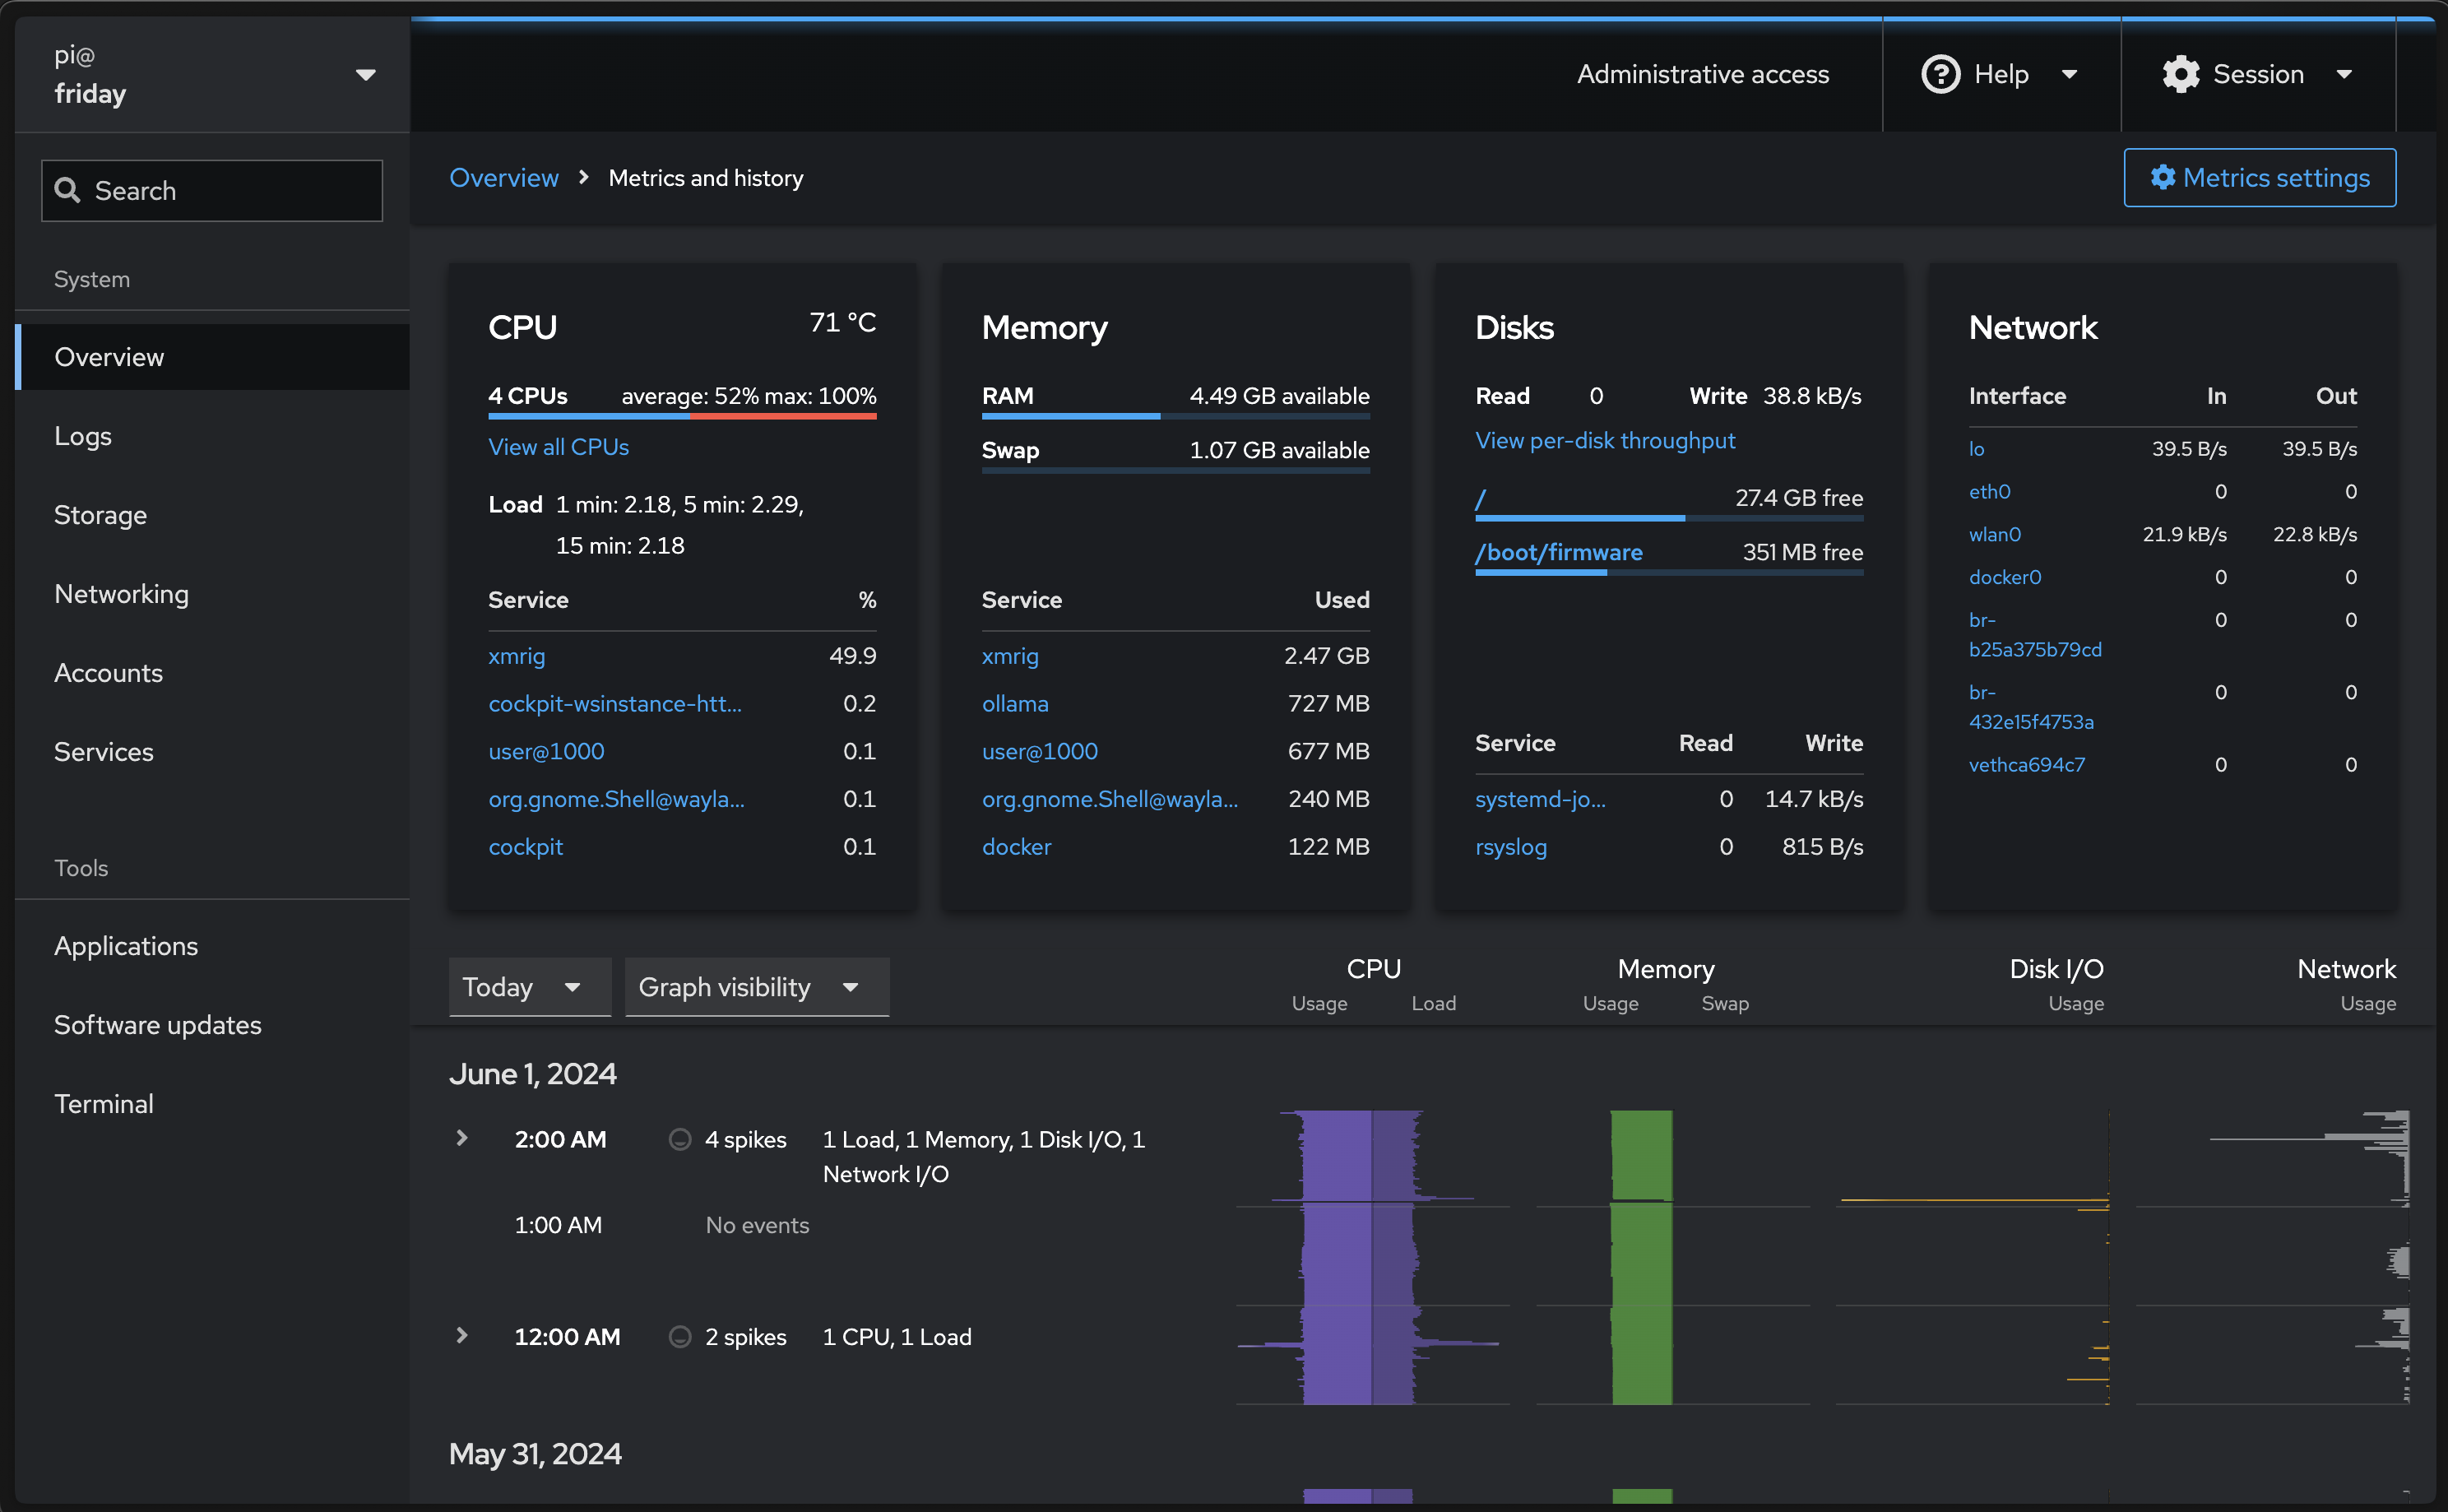
Cockpit is an open-source web-based interface that allows you to manage and monitor multiple Linux servers. It provides a graphical interface for tasks such as:
- Monitoring system performance
- Managing system services
- Configuring network settings
- Viewing logs
- Managing storage
- Administering users and groups
Why Use Cockpit?
Cockpit is lightweight and easy to set up, making it an ideal tool for both beginners and experienced system administrators. Its key features include:
- Real-time monitoring: View system performance metrics such as CPU, memory, disk usage, and network activity.
- Ease of use: Manage multiple servers from a single dashboard with a user-friendly interface.
- Extensibility: Cockpit supports plugins, allowing you to extend its functionality to suit your needs.
- Remote access: Manage servers remotely via a web browser.
Setting Up Cockpit on Ubuntu
Here’s a step-by-step guide to installing and configuring Cockpit on Ubuntu.
Step 1: Install Cockpit
First, update your system packages using your distro’s package manager. For Ubuntu, we’ll be using apt:
sudo apt update
sudo apt upgrade
Then, install Cockpit using the package manager:
sudo apt install cockpit
Step 2: Enable and Start Cockpit Service
Enable the Cockpit service to start on boot and start it immediately:
sudo systemctl enable --now cockpit.socket
Verify that Cockpit is running:
sudo systemctl status cockpit
You should see that the cockpit.service is active and running.
Step 3: Access Cockpit Web Interface
Open a web browser and navigate to:
https://<your_server_ip>:9090
Replace <your_server_ip> with the IP address of your Ubuntu server. If you are accessing Cockpit locally, you can use localhost:
https://localhost:9090
You will be prompted with a security warning because the connection is not yet secured. Bypass the warning to proceed.
Step 4: Log In
Log in with your Ubuntu user credentials. These are the same username and password you use to log in to your server.
Securing Cockpit with SSL
To secure your Cockpit interface with SSL, you can use Let’s Encrypt to obtain a free SSL certificate or create a self-signed certificate.
Using Let’s Encrypt
-
Install Certbot:
sudo apt install certbot -
Obtain an SSL Certificate:
sudo certbot certonly --standalone -d yourdomain.comFollow the prompts to complete the certificate request.
-
Configure Cockpit to Use the Certificate:
Edit the Cockpit configuration file:
sudo nano /etc/cockpit/cockpit.confAdd or modify the following lines:
[WebService] UseTLS = true KeyFile = /etc/letsencrypt/live/yourdomain.com/privkey.pem CertificateFile = /etc/letsencrypt/live/yourdomain.com/fullchain.pem -
Restart Cockpit:
sudo systemctl restart cockpit -
Set Up Automatic Renewal:
sudo crontab -eAdd the following line:
0 3 * * * /usr/bin/certbot renew --quiet && systemctl restart cockpit
Using a Self-Signed Certificate
-
Generate a Self-Signed Certificate:
sudo openssl req -newkey rsa:2048 -nodes -keyout /etc/ssl/private/cockpit-selfsigned.key -x509 -days 365 -out /etc/ssl/certs/cockpit-selfsigned.crt -
Configure Cockpit to Use the Certificate:
Edit the Cockpit configuration file:
sudo nano /etc/cockpit/cockpit.confAdd or modify the following lines:
[WebService] UseTLS = true KeyFile = /etc/ssl/private/cockpit-selfsigned.key CertificateFile = /etc/ssl/certs/cockpit-selfsigned.crt -
Restart Cockpit:
sudo systemctl restart cockpit
Adding and Managing Multiple Servers
Once you have Cockpit set up on your primary server, you can add and manage additional servers from the same interface.
-
Install Cockpit on Additional Servers:
Repeat the installation steps on each additional Raspberry Pi or Linux server.
-
Add Servers to Cockpit Dashboard:
On your primary Cockpit server, go to the “Dashboard” tab and click “Add Server.” Enter the IP address and credentials of the additional server.
Conclusion
Cockpit is a powerful and versatile tool for managing multiple Raspberry Pis and other Linux servers. Its web-based interface simplifies system administration tasks, making it easier to monitor and manage your infrastructure. By following this guide, you can set up Cockpit on Ubuntu, secure it with SSL, and manage multiple servers from a single dashboard. Enjoy the ease and efficiency that Cockpit brings to your system administration tasks.