Using Direnv in Linux for Software Development
Introduction
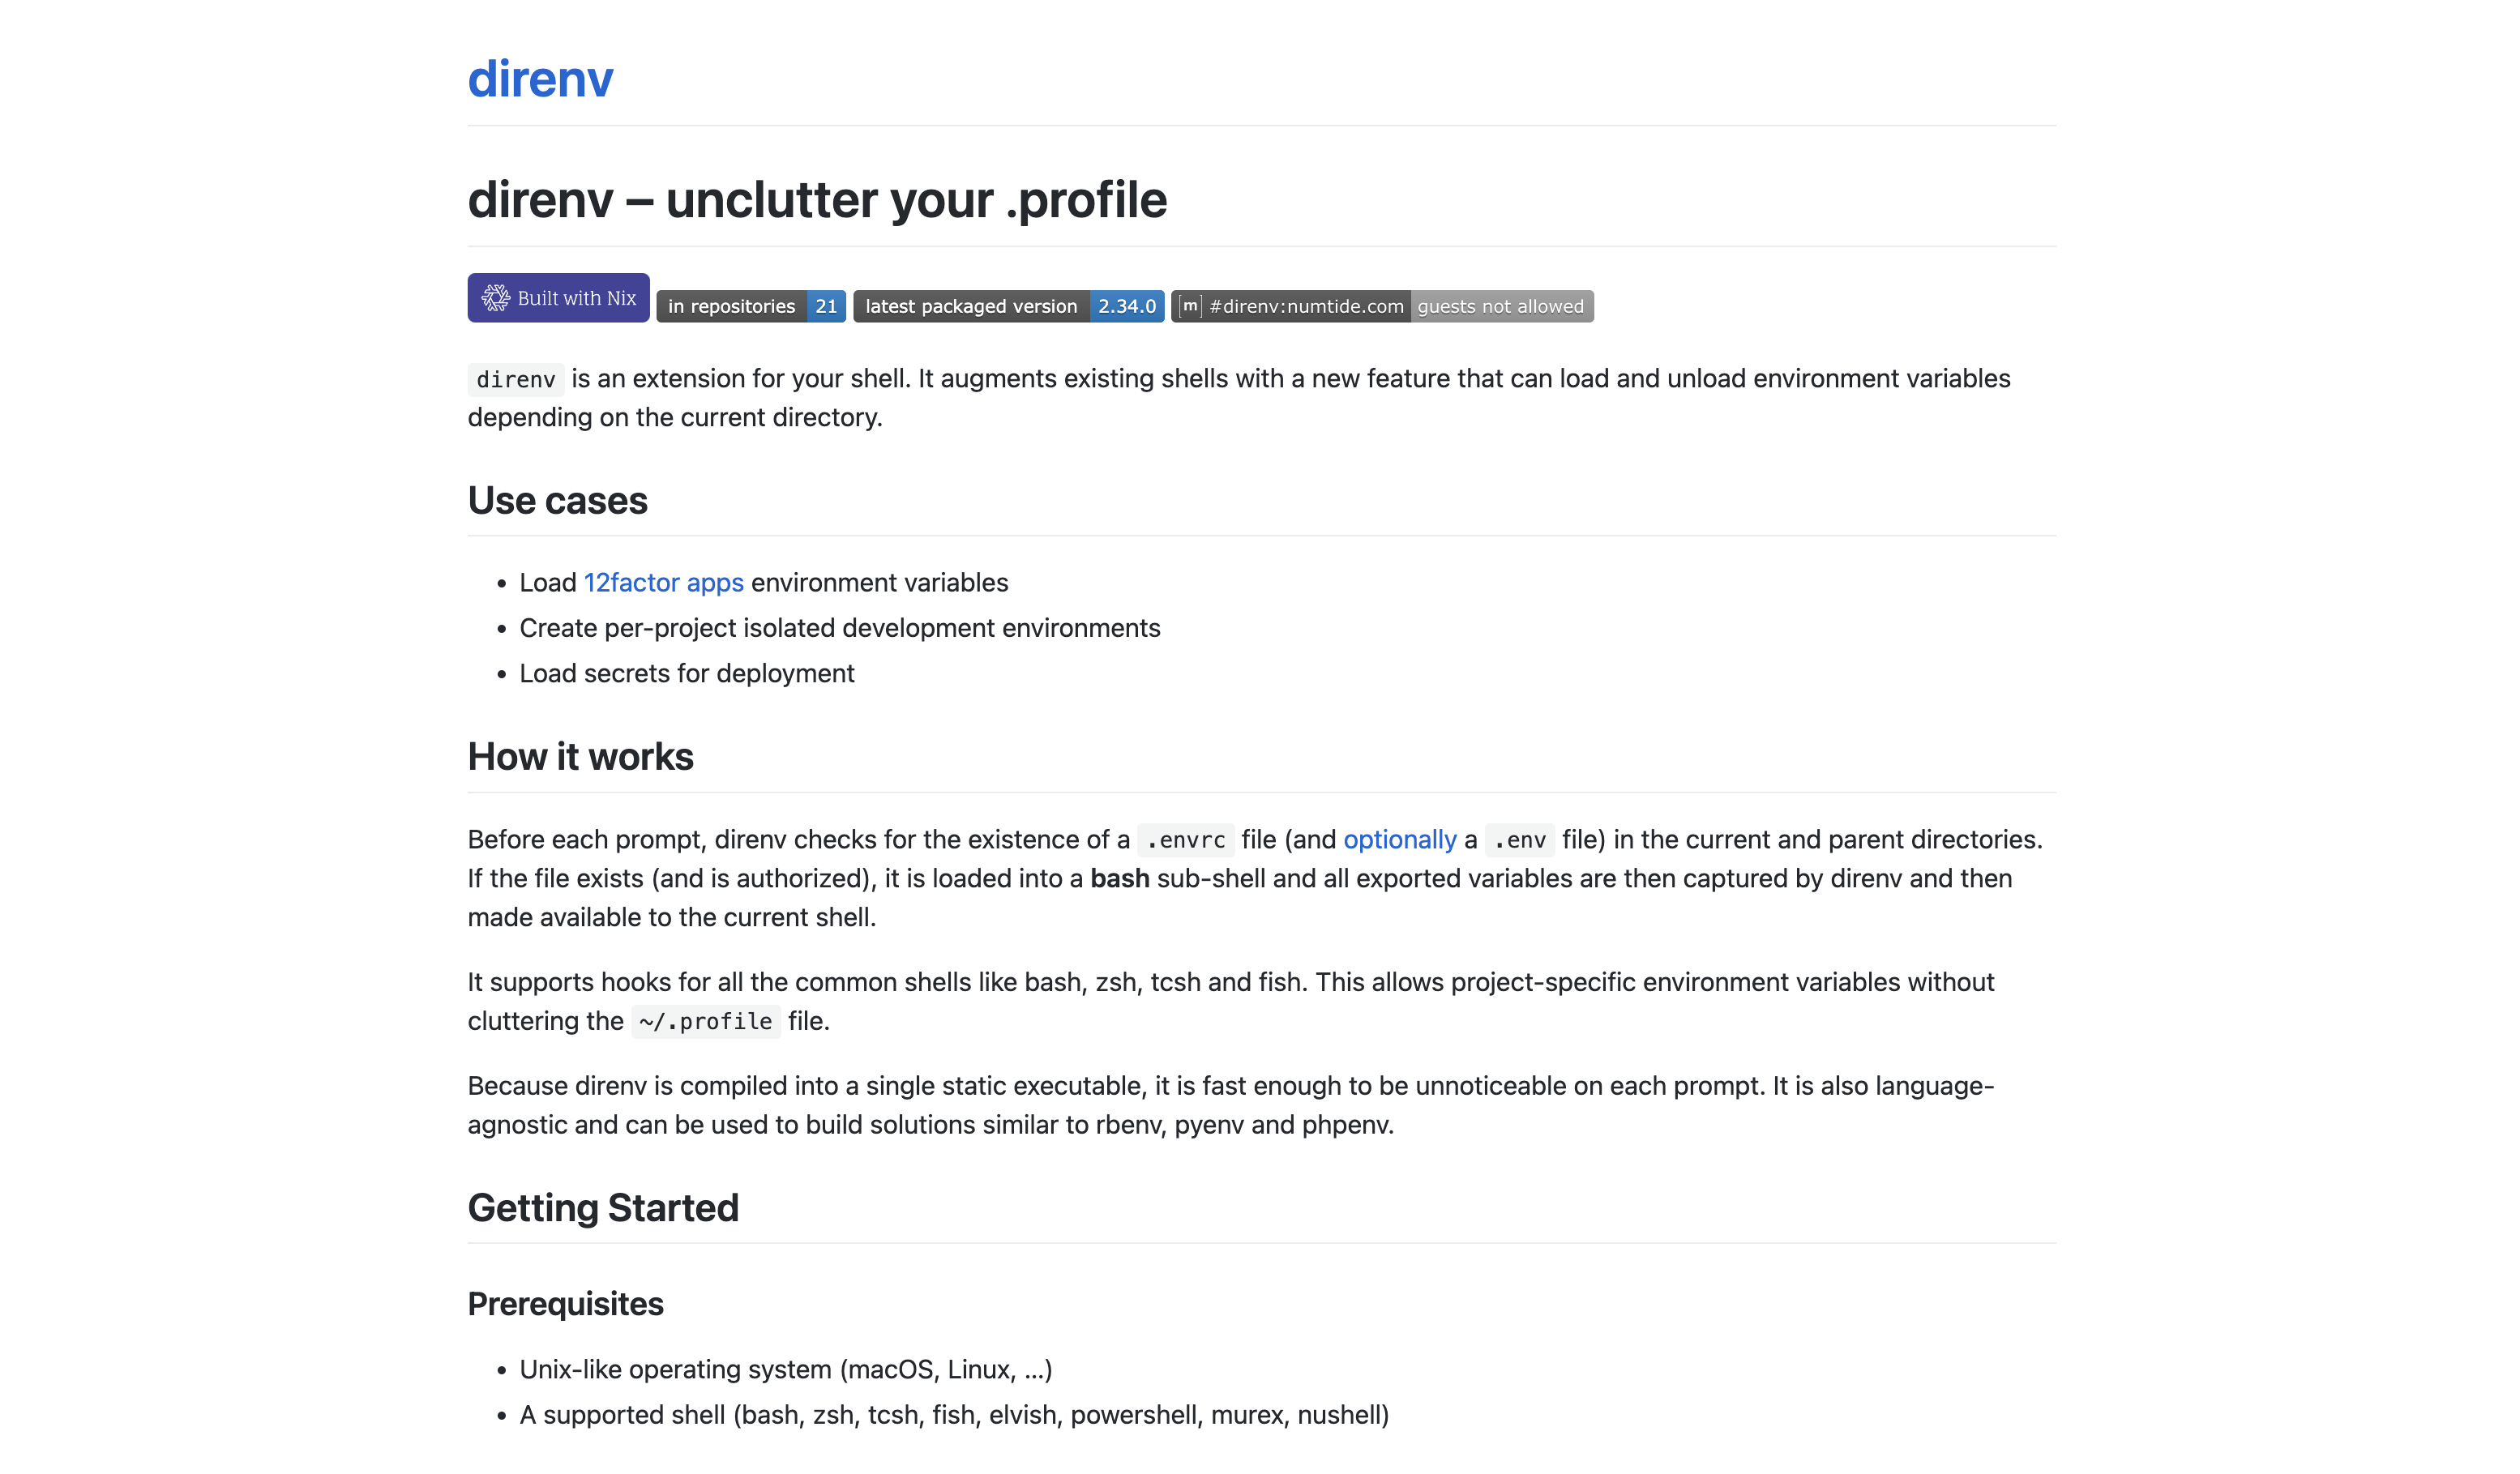
In the fast-paced world of software development, managing environment variables efficiently can greatly enhance productivity and reduce errors. One tool that stands out for this purpose is Direnv. Direnv is an environment variable manager for the shell, designed to streamline the setup of environment variables in different directories. This article will introduce Direnv, explain its benefits, and provide a step-by-step tutorial to get you started.
What is Direnv?
Direnv is an open-source tool that allows you to automatically set and unset environment variables when you cd into a directory. It is particularly useful for managing project-specific environments, ensuring that the right variables are loaded without manual intervention.
Key Features:
- Automatic Loading: Direnv automatically loads environment variables from a
.envrcfile when you enter a directory. - Security: It prompts you to allow or disallow the loading of new or modified
.envrcfiles, adding a layer of security. - Shell Agnostic: Works with bash, zsh, and other shells.
- Ease of Use: Simplifies the management of complex environments and reduces configuration errors.
Installation
Prerequisites
Before installing Direnv, ensure you have the following:
- A Linux distribution (Ubuntu, Fedora, etc.)
- A shell (bash, zsh, etc.)
Installation Steps
-
Install Direnv
sudo apt-get install direnvFor other distributions, refer to the official installation guide.
-
Hook Direnv into Your Shell Add the following line to your shell configuration file (
.bashrc,.zshrc, etc.):eval "$(direnv hook bash)"Replace
bashwith your shell if you are using a different one (e.g.,zsh). -
Reload Your Shell Configuration
source ~/.bashrcAgain, replace
.bashrcwith your respective configuration file if needed.
Getting Started with Direnv
Step-by-Step Tutorial
-
Create a Project Directory
mkdir my_project cd my_project -
Create a
.envrcFile Inside themy_projectdirectory, create a.envrcfile with the following content:export PROJECT_NAME="My Awesome Project" export DATABASE_URL="postgres://user:password@localhost:5432/mydb" -
Allow the
.envrcFile When youcdinto the directory for the first time, Direnv will prompt you to allow the.envrcfile:direnv allow -
Verify the Environment Variables After allowing the
.envrcfile, the environment variables will be set automatically:echo $PROJECT_NAME echo $DATABASE_URL
Example Use Case
Let’s assume you have two projects, project1 and project2, each requiring different environment variables. With Direnv, you can manage them seamlessly.
-
Setup for Project 1
mkdir project1 cd project1 echo 'export PROJECT_NAME="Project 1"' > .envrc echo 'export DATABASE_URL="postgres://user:password@localhost:5432/project1db"' >> .envrc direnv allow -
Setup for Project 2
mkdir project2 cd project2 echo 'export PROJECT_NAME="Project 2"' > .envrc echo 'export DATABASE_URL="postgres://user:password@localhost:5432/project2db"' >> .envrc direnv allow -
Switch Between Projects When you switch between
project1andproject2, Direnv will automatically update the environment variables based on the.envrcfile of the current directory.cd ../project1 echo $PROJECT_NAME # Output: Project 1 cd ../project2 echo $PROJECT_NAME # Output: Project 2
Best Practices
- Security: Always review the contents of a
.envrcfile before allowing it, especially if you are working on a shared repository. - Documentation: Document the required environment variables in a
READMEfile for each project. - Version Control: Add
.envrcto your.gitignorefile if the environment variables contain sensitive information.
Conclusion
Direnv is a powerful tool that simplifies the management of environment variables, making it an invaluable asset for software developers. By automating the loading and unloading of environment-specific variables, Direnv enhances productivity and reduces configuration errors. Follow this tutorial to integrate Direnv into your workflow and experience a more streamlined development process.
For more information and advanced configurations, refer to the official Direnv documentation.
Sources: